
Are you trying to wrap your head around Google Tag Manager (GTM)? You’ve heard it’s important when it comes to reporting and analytics, but you’ve also heard that it can do so much more. But it’s code, and it’s intimidating, and you wonder if it’s worth the effort.
Well, it is! And today we’re going to demystify this powerful linchpin that helps wrangle all of your marketing campaigns, digital channels, and reporting strategies so that you can generate more leads and sales online.
But first, a story….
The first time someone suggested that I hire a Project Manager, I didn’t even know what one was. I had never taken a business course in my life, so I was a little green back then. When they explained that it was someone who managed projects, who stayed on top of members of our team and communicated with the clients and made sure everything was delivered on time and on budget, I explained that I did all that.

I looked at the yellow sticky notes on the wall that I moved around depending on where we were on a project—occasionally having to pick one or two up off the floor as they curled and aged—I thought that I had it all under control….
One day—embarrassingly years later—I realized that not delegating all that management work was keeping me from growing my company…so I hired a project manager. Best decision I ever made. Suddenly I could do what I was good at: business development, presenting, ordering people around, and she made sure that all of our projects ran smoothly. From that, we started to grow and become more profitable.
I share this story because Google Tag Manager is a Project Manager of sorts: organizing all the different data streams and tracking pixels on your website so that you can run the most effective marketing campaigns possible and generate the most insightful reports ever, all to help you perform at your best as a digital marketer…and to help your company grow.
Understanding the Purpose Google Tag Manager
Can you imagine a modern airport without an air traffic control tower? Chaos, right? Well, that’s the role of GTM: making sure all the aircrafts—or in this case—data streams and tracking scripts—get in and out safely. This ensures that the reporting of your marketing endeavors run smoothly while not hurting your website’s performance.
That’s because multiple, individual tags can bloat your website’s code, slowing down your website, while Tag Manager collects all that data with one single “light” tag.
Google Tag Manager helps you manage and deploy marketing and analytics tags on your website without having to modify the code each time you want to add or update a tag. These tags—or scripts, or pixels—gather data on your website visitors, making it easier for you to personalize their experience, retarget them on their favorite social media platforms, and generate more accurate, more helpful analytics on your marketing campaigns.
These little digital spies that track what's happening on your site, from which buttons are being clicked to how far people are scrolling down your page.
Key Features and Capabilities of GTM
 Simplified Tag Management: GTM keeps all your tags organized and in one place, so you don't have to dig through lines of website code. Want to add a new Google Analytics event or Facebook pixel? It's just a few clicks in GTM, not an interruption for your web developer who’s busy doing other important work.
Quick Updates and Changes: Need to update a tag? In the pre-GTM era, this was like rewiring your entire house just to replace one bulb. With GTM, it's as easy as…well, changing said light bulb. Make your updates directly in GTM, and they're live on your site at light speed.
Ease of Testing and Debugging: GTM comes with a preview mode that let you test and ensure your tags are firing correctly, meaning you’re getting accurate data every time.
Event Tracking Made Simple & Customizable: Tracking events (like form submissions, white paper downloads, or video plays) is a breeze with GTM. Just about anything you want to track or measure is possible with GTM.
User-Friendly for Non-Techies: Not a coder? No problem. GTM speaks your language, not just JavaScript. And I’m here to make it even easier, so read on.
Setting Up Google Tag Manager
A lot of digital marketers I know are actually afraid of code and feel more comfortable crafting engaging social media posts or new designs in Canva. But you don’t need to be a NASA engineer to get GTM set up…in fact, we’ll walk you through the process step by step….
Step 1: Creating Your GTM Account
All you need to get started is your Google Account, the same one you used to set up your Google Analytics.
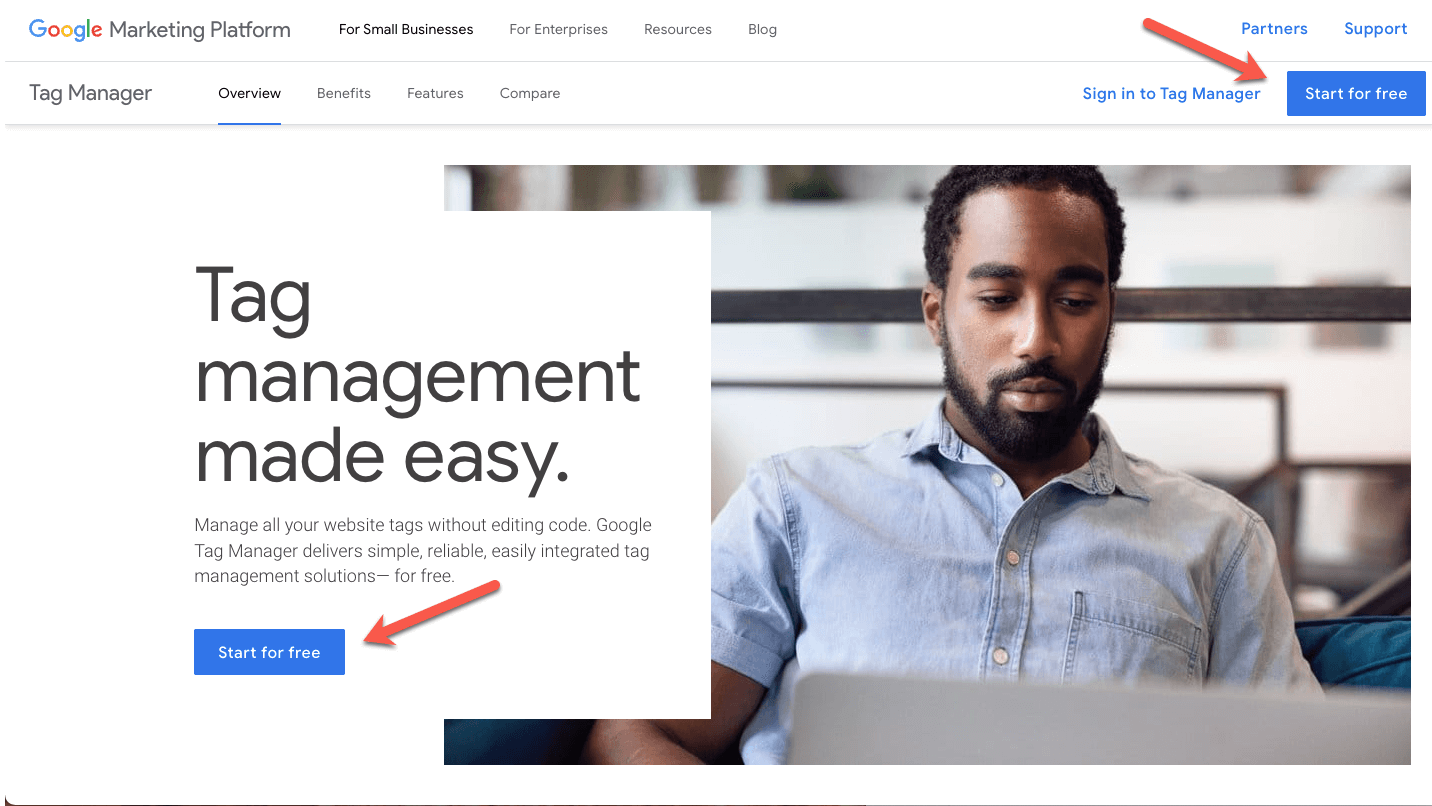
Visit the Google Tag Manager website and click on the “Start for Free” button. You'll be asked to enter some basic information like account name, country, and container name (this is your treasure chest, where all your tags will be stored). Typically, the container name is your website URL.
Step 2: Installing GTM on Your Website
Once your account is set up, GTM will give you a snippet of code.
If you're using a CMS like WordPress, there are plugins that make this step simple: just copy and paste the code into the plugin settings. Here at flyte we strongly recommend GTM4WP.
For the brave souls who don’t mind getting their hands dirty, you can embed the code directly into the source code of your website. Google suggests the following:
- Place the <script> code snippet in the <head> of your web page's HTML output, preferably as close to the opening <head> tag as possible, but below any data layer declarations.
- Place the <noscript> code snippet immediately after the <body> tag in your HTML output.
From Google’s mouth to your developer’s ear….

Step 3: Understanding the GTM Interface
The GTM dashboard might feel overwhelming at first, but don’t let it intimidate you. You'll see options like ‘Tags', ‘Triggers', and ‘Variables'.
- Tags are the tools in your chest – they're the scripts that collect the data.
- Triggers tell the tags when to fire.
- Variables are additional information that tags and triggers might need to work properly.
Step 4: Adding Your First Tag
Now, it’s time to add your first tag. This could be a Google Analytics tracking tag or a Facebook Pixel.
In the GTM dashboard, click “New Tag”, select the tag type, and configure it based on what data you want to track. We’ll go into more detail in the next section: Basic Tag Configuration.
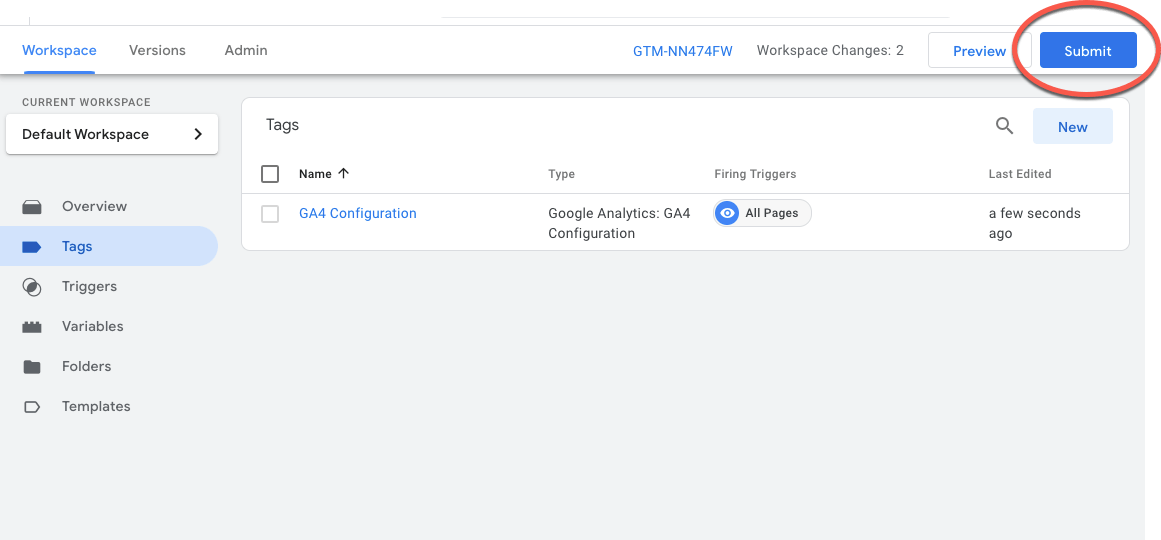
Step 5: Testing and Publishing
Before you take flyte, you need to make sure your plane is airworthy. Similarly, before your tags go live, use the GTM preview mode to test them.
Once you’re confident everything is working correctly, hit the “Submit” button. Congratulations, you’ve just earned your wings and launched your GTM journey! (Have I stretched this metaphor too far?)
In the next section, we'll cover the basics of tag configuration – your first real test as a GTM pilot.
Basic Tag Configuration
Welcome to the heart of Google Tag Manager—configuring your tags. Fear not; it's less like rebuilding a plane engine blindfolded and more like setting the plane’s GPS.
Let's break it down into digestible, easy-to-follow steps.
Understanding Tags in GTM
Think of tags as your little digital helpers, each assigned with a specific task to gather data from your website. These could be tracking page views, form submissions, or even how long a visitor obsessed over your latest blog!
Setting Up Your First Tags
Google Analytics Tracking: This is the bread and butter of website tracking.
- In your GTM dashboard, create a new tag and select ‘Google Analytics: GA4 Configuration' as the tag type.

- Choose ‘Page View' as the track type – this tells your tag to note every time someone views a page on your site.
- Next, you'll need your Google Analytics Tracking ID. You can find this in your GA account.

- Set the trigger to ‘All Pages' to track views on every single page of your site. This ensures that the tracking will happen site wide.
- Google Ads Conversion Tracking: If you're using Google Ads, this tag is your golden ticket.
- Create a new tag and select the ‘Google Ads Conversion Tracking' tag type.
- Enter your conversion ID and label, which you'll find in your Google Ads account.
- Choose a trigger that corresponds to the conversion action, like ‘Form Submission' for lead generation forms.
Best Practices for Tag Configuration
- Test, Test, Test: Before you unleash your tags into the wild, use GTM’s preview mode to test them.
- Keep It Organized: As your list of tags grows, keeping them organized is key. Name your tags clearly and consistently.
- Document Everything: Keep track of what each tag does, especially if you're working in a team. A shared Google doc works wonders.
Common Tag Configuration Mistakes to Avoid
- Incorrect Trigger Setup: Make sure your triggers are set up correctly to fire your tags at the right time.
- Forgetting to Publish Changes: Remember, changes in GTM aren't live until you publish them. You can even add notes each time you publish so that you can always go back to see what was changed and when.
In the next section, we'll tackle some advanced GTM tactics, which is where the real fun begins.
Advanced GTM Tactics
Now that you've got the basics down, it's time to level up your Google Tag Manager game. Let's explore some sophisticated strategies to make your data collection more robust and insightful.
1. Implementing Custom Event Tracking
Think of custom event tracking as the secret menu of GTM. It's not on the standard list, but it offers some delicious options. Animal style, anyone?
You can track events like button clicks, form submissions, or even how long someone watched a video on your site.
To set this up, you’ll create a tag for the specific action, like a ‘Click' event for tracking button clicks. Then, you pair it with a trigger that defines when this action takes place.
2. Leveraging Data Layers for Advanced Data Collection
Data layers hold valuable information that can be passed to GTM for more detailed tracking.
You can use data layers like GTM4WP or Woo Commerce to track e-commerce transactions, user behavior, or even specific user attributes and bring all of this data into your GA4 reports.
Setting up data layers involves adding a bit of JavaScript to your site, but it’s worth it for the treasure trove of data you’ll unearth.
3. Dynamic Remarketing Setup
Dynamic remarketing allows you to follow your site visitors even after they’ve left your website. You can then serve up ads that follow them around the web, encouraging them to return.
Setting this up involves creating custom tags that send specific product or page information to your advertising platforms.
Conclusion
Hopefully now you understand why GTM is the lynchpin of your analytics, reporting, and your entire marketing strategy!
However, to dig a little deeper, here are some valuable resources on GTM:
- Tag Manager for Web Pages – Official documentation from Google.
- Google Tag Manager Fundamentals – This is a video that’s part of Google’s Analytics Academy.
- Javascript Basics for Google Tag Manager – This is a course offered by our friends at MeasurementMarketing.io.
Final Thoughts
GTM is the Project Manager for all of your marketing needs, and that includes analytics, insights, campaigns, and more. Understanding how to set up, configure, and optimize your website’s GTM will unlock troves of valuable information that will make you a better marketer.
Hopefully now you feel empowered to set up and configure your own GTM, but if you don’t—or you’re just too busy—we’ve got you covered. Reach out to us today and start receiving better reporting tomorrow.

Rich Brooks is founder and president of flyte new media, a digital agency in Portland, Maine, that’s been in business for 25 years. He is a nationally recognized speaker on entrepreneurship, digital marketing, and social media.
He founded The Agents of Change, an annual conference and weekly podcast that focuses on search, social & mobile marketing. He recently co-founded Fast Forward Maine, a podcast and workshop series for growing Maine businesses.
Rich is the author of The Lead Machine: The Small Business Guide to Digital Marketing, a popular and well-received book that helps entrepreneurs and marketers reach more of their ideal customers online.